• Celiac Disease
  • Type 1 Diabetes
  • ABC of Couponing
  • Dysgraphia
  • Dyslexia

Journal of a Busy Mom

living one day at a time

  • Mom’s Corner
    • Reading Corner
    • Homemaking
    • Fitness
    • Family Life
    • Faithbuilding
    • Finances
  • Learning Challenges
    • LC Help 101
    • Dyslexia
    • Dysgraphia
    • ADD
  • Homeschooling
    • Schooling Fun
    • Planning & Organization
    • Homeschooling High School
    • Homeschooling & Beyond
    • Homeschooling Curriculum
    • Homeschooling w/Challenges
    • Homeschooling K-8
  • Gluten Free Living
  • SIBO/Low FODMAP
  • Life w/Autoimmune Diseases
    • Thyroid Disease
    • Diabetes
      • Our Story
      • Tips
    • Celiac Disease
      • Our Celiac Story

Gluten Free Lemon Drop Cake

April 16, 2015 By Ligia

This post is dedicated to the Safeway cashier who asked me if I was making a Lemon drop cake since I was buying a cake mix and lemons. Well….I had to go find out what that was. So here I am posting about my first Gluten Free Drop Cake.

I found it on this amazing post: Lemon Drop Cake Plus A Little Frosting Secret.

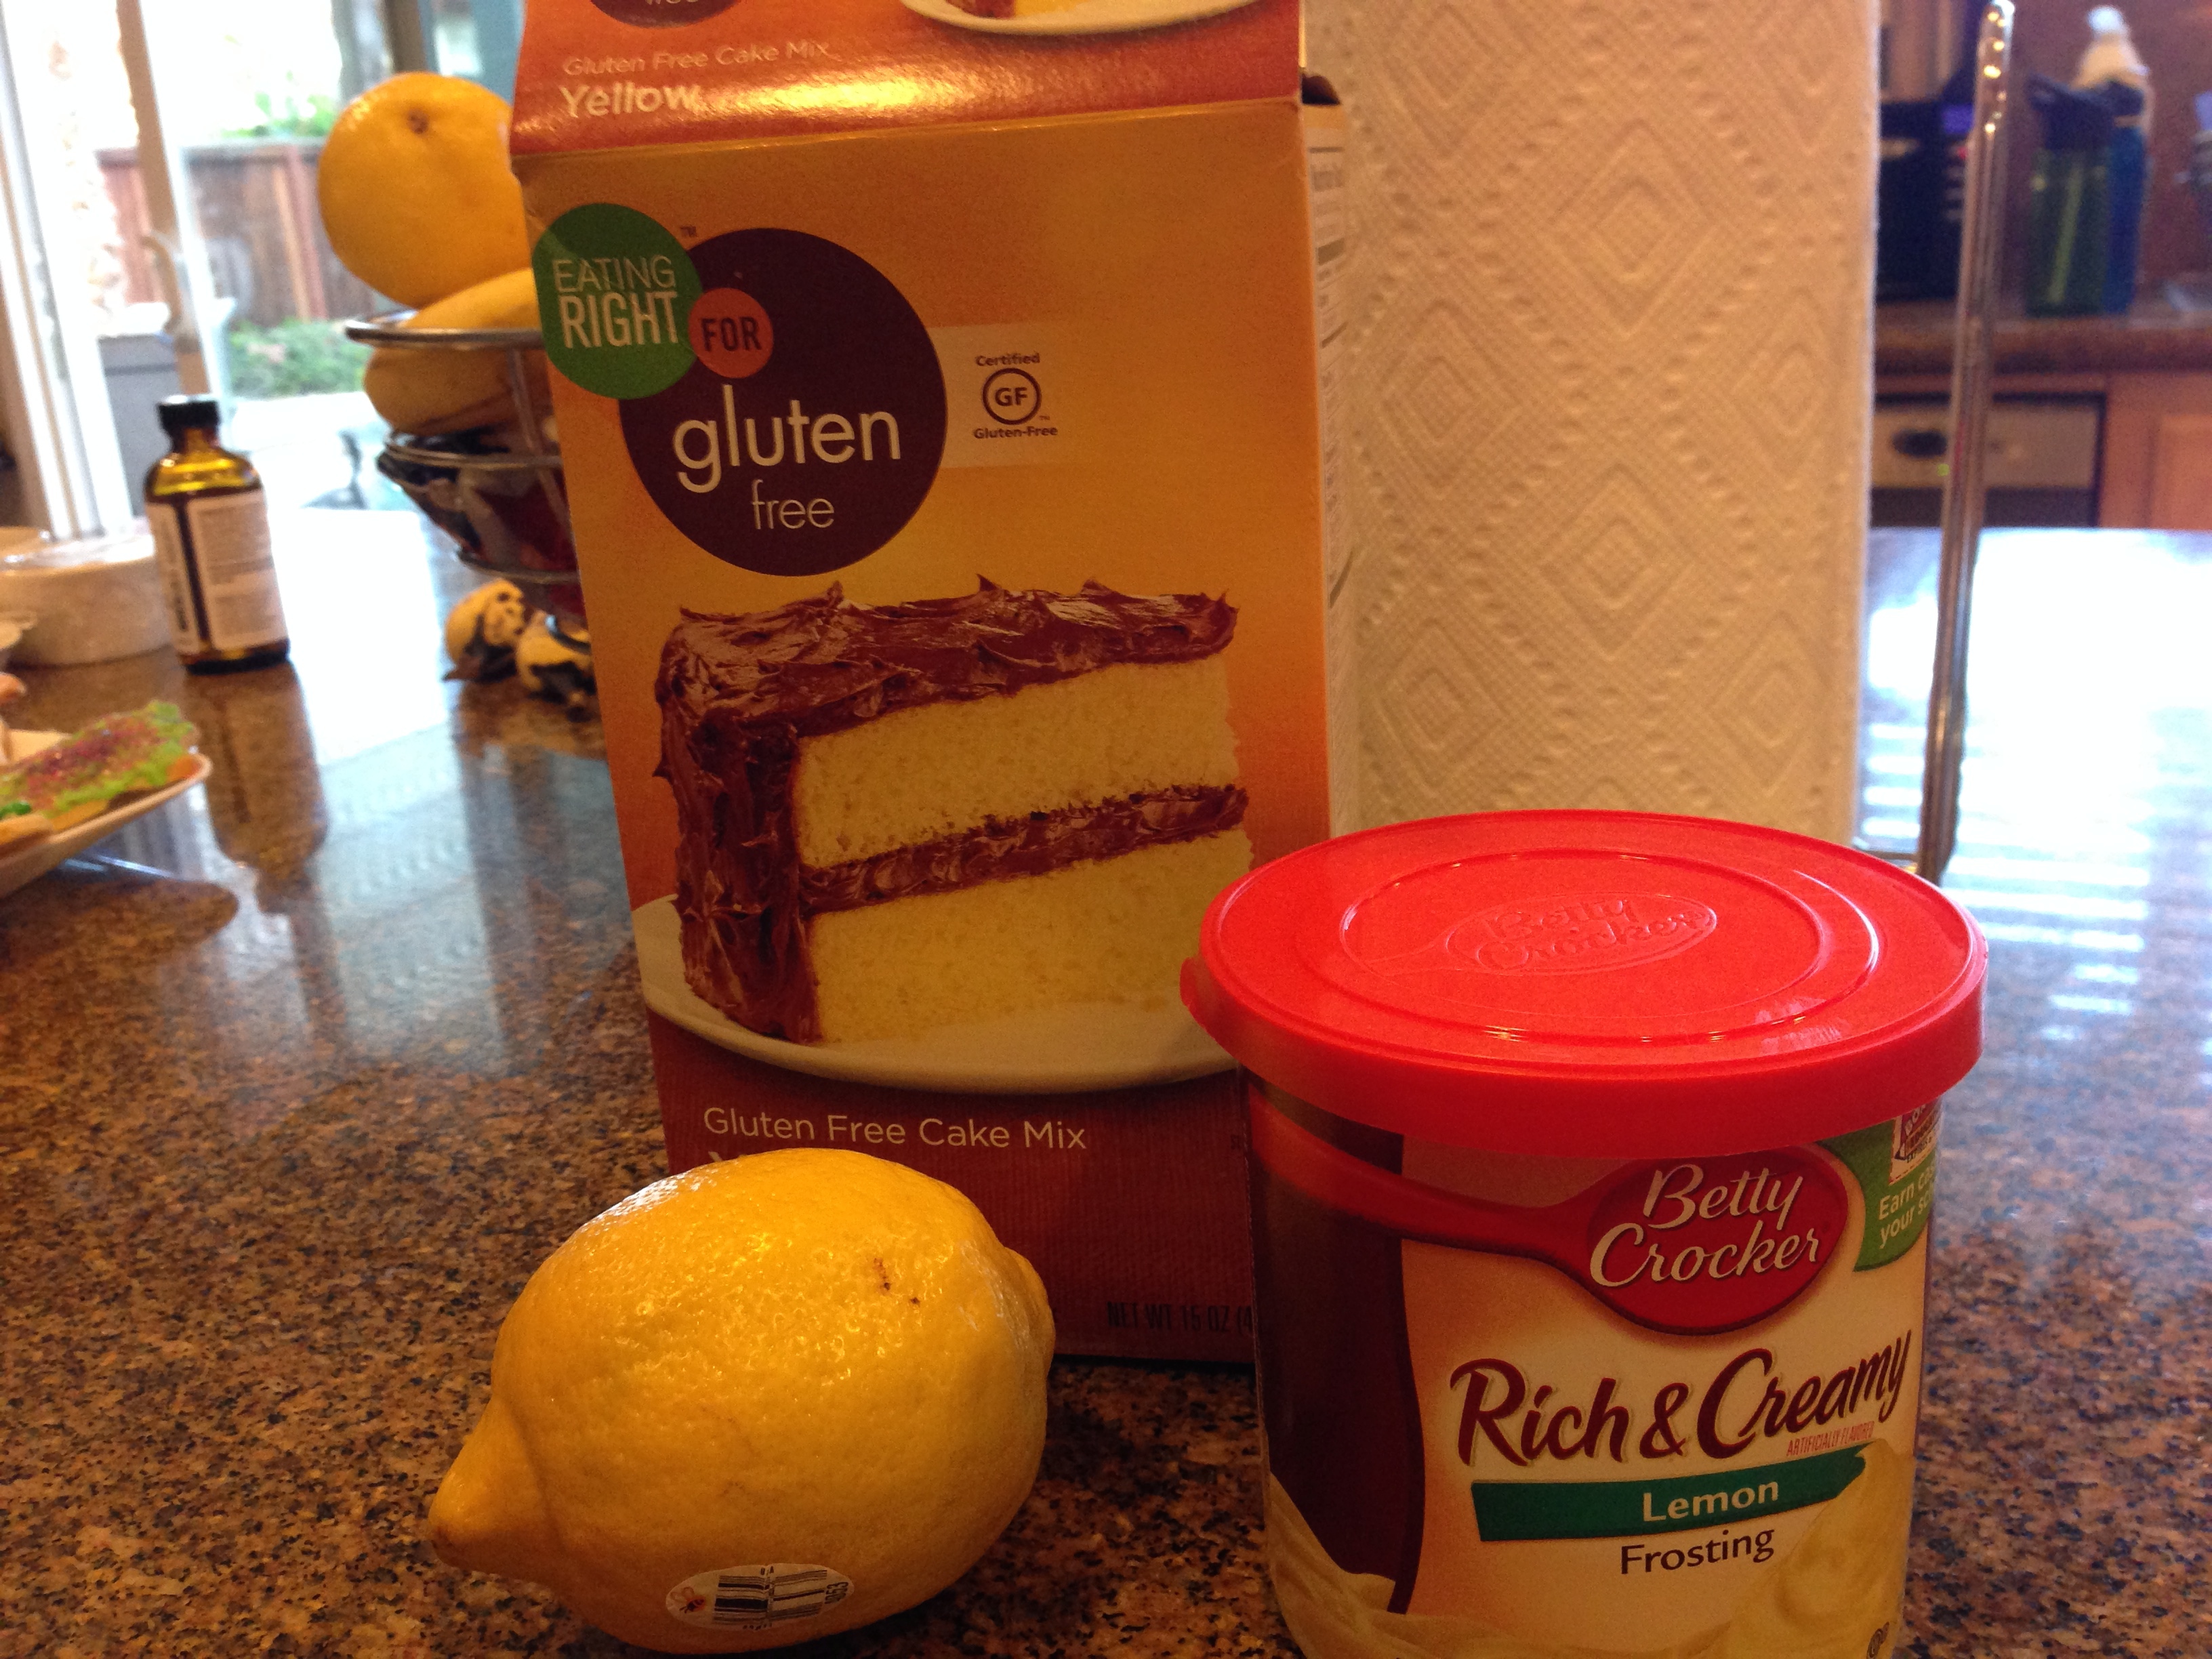
There is no Lemon Cake Mix for Gluten Free peeps so I used Safeway’s Eating Right Gluten Free Cake Mix. I did find the Lemon Frosting so that is good. If I had not, I might have tried using lemon juice and mixing it into a vanilla frosting.

IMG_4560

So it was fun to make this cake. I loved the frosting secret. (Please see the original post for that secret).

IMG_4561

1 box Cake Mix
1 Tub Lemon Frosting
3 eggs
1/2 c. vegetable oil ( I use coconut oil)
1 1/4 c. water
2 lemons
1 c. Powdered Sugar

Preheat oven to 350 degrees.

Make the cake as directed on the box.

Pour into your greased pan. I used a round cake but you can do a 9×13. Unfortunately, I think the GF cake mix makes a smaller cake than the regular cake mix, so if you make a 9×13 it will be flat.

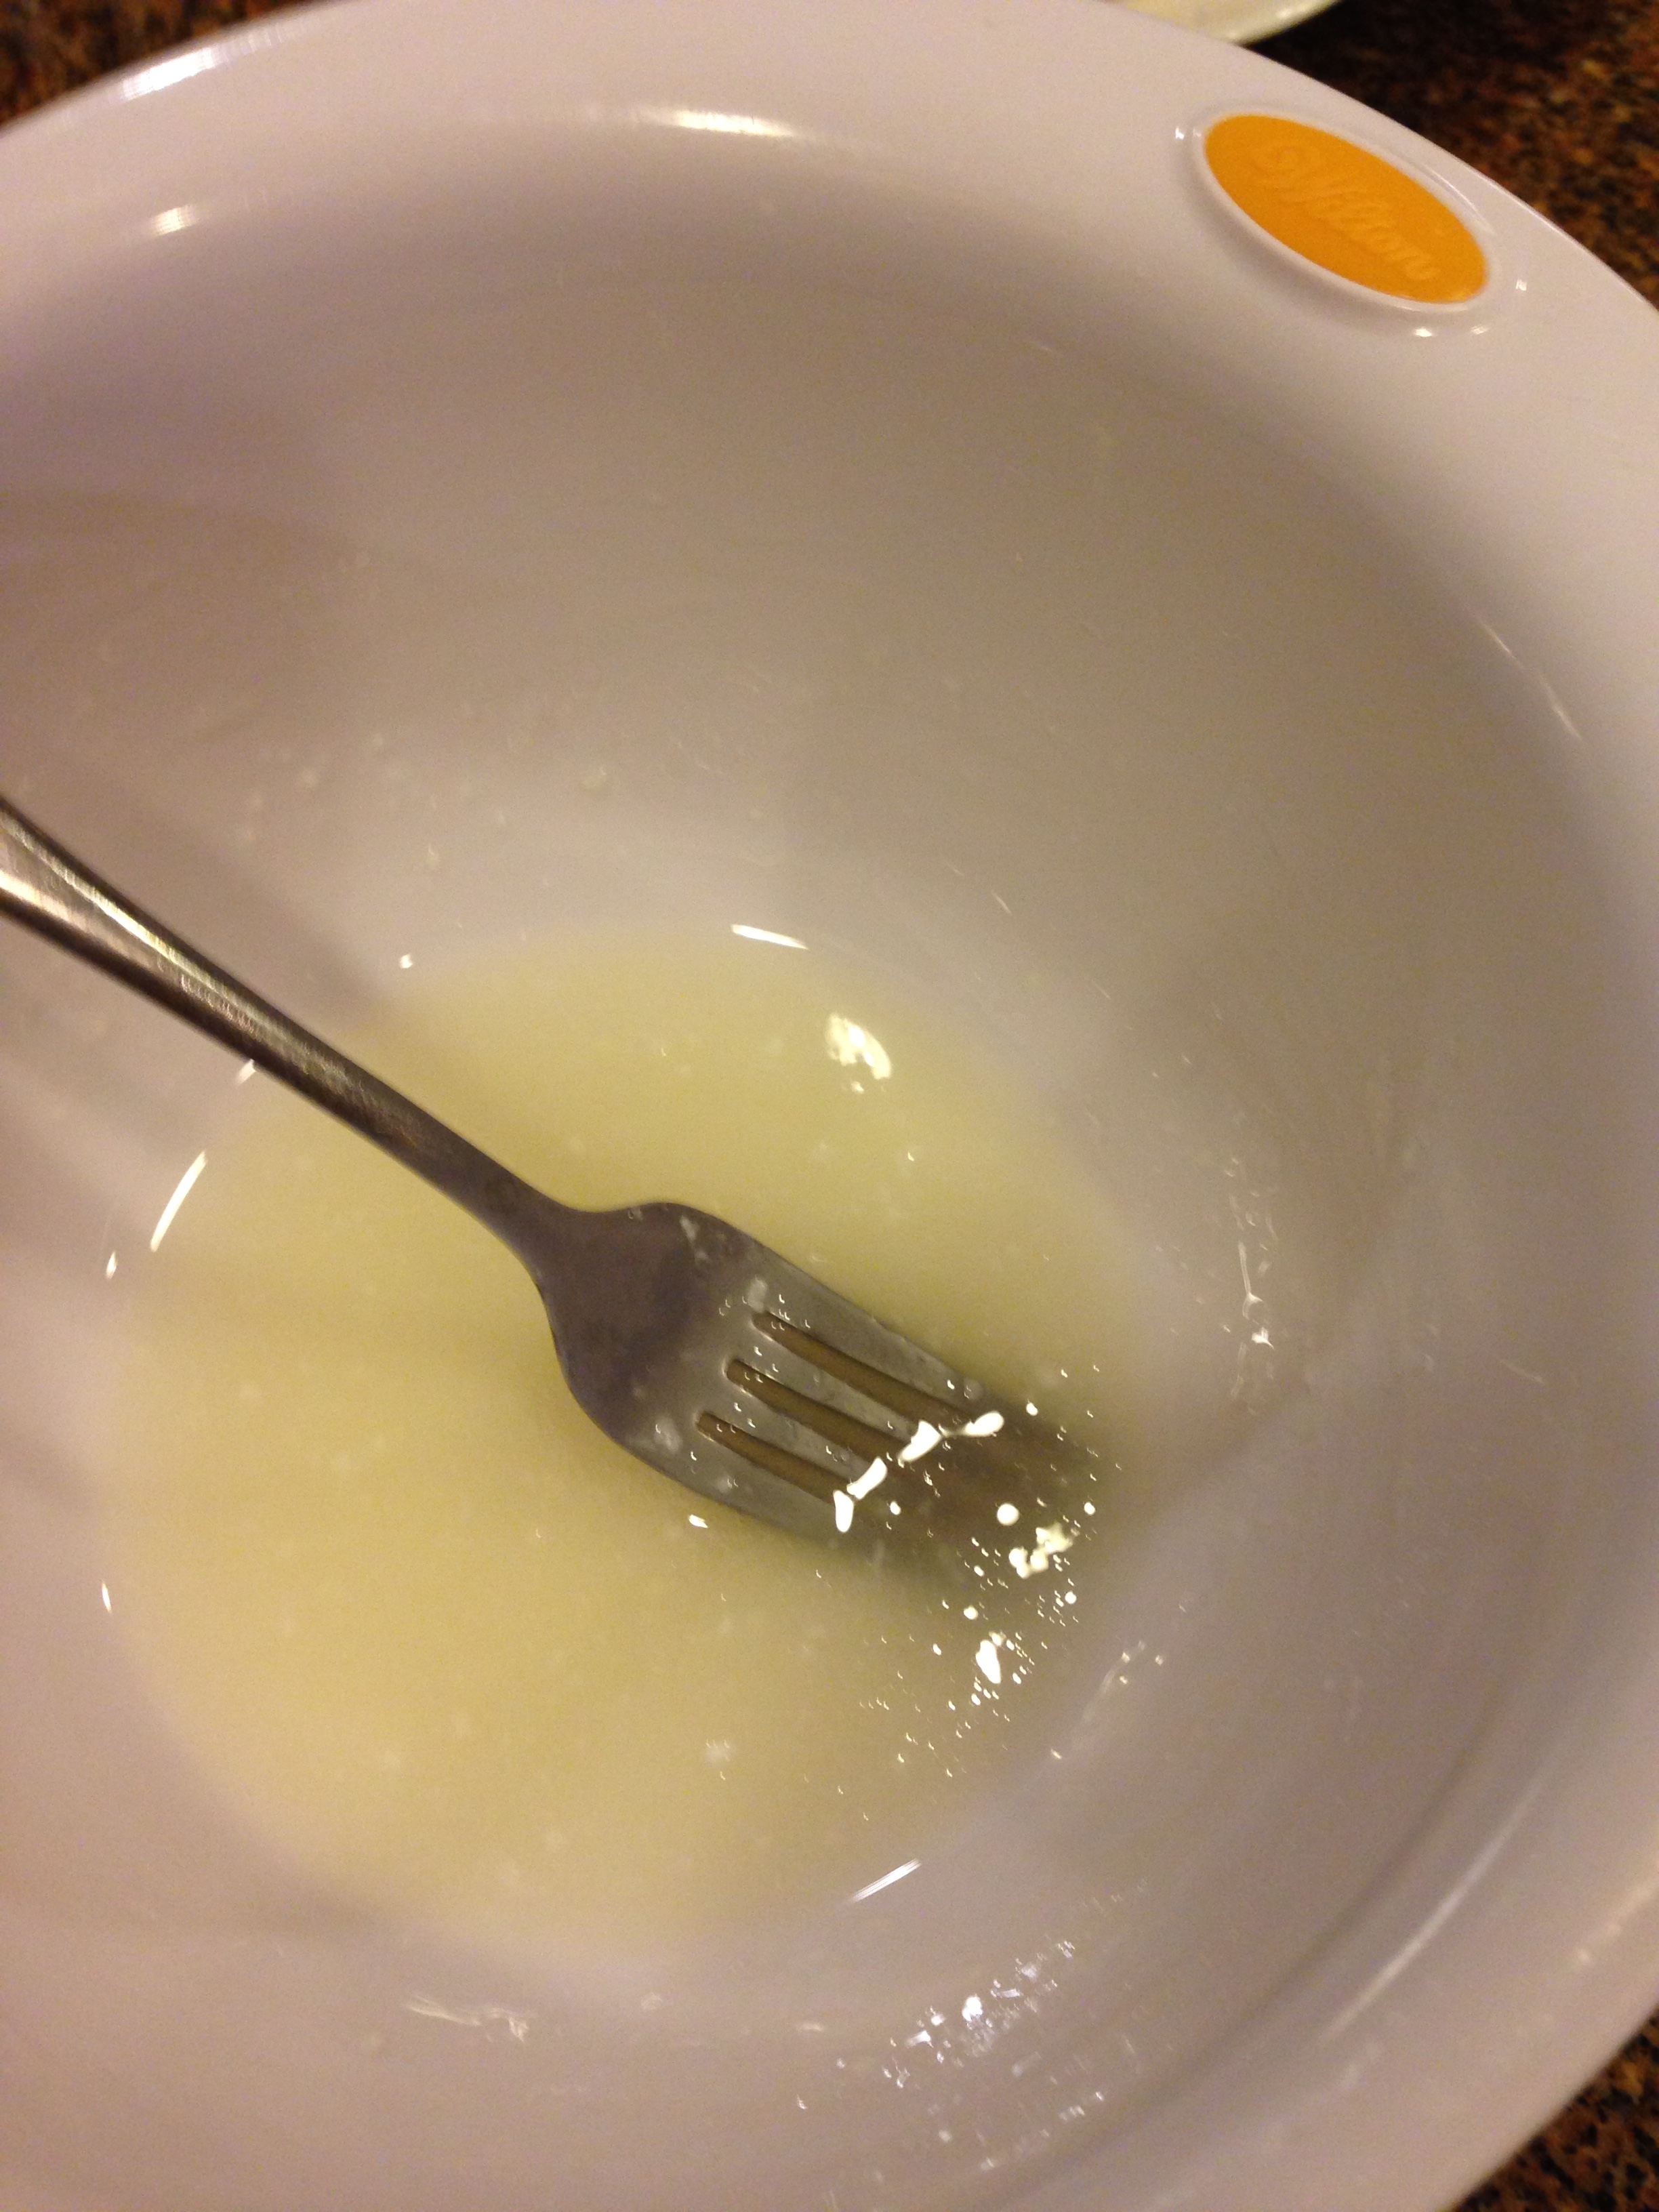
Now, while the cake is baking, take your fresh lemon, and squeeze enough juice to make 1/4 cup.   Mix it with the powdered sugar. This is what it will look like after.


IMG_4556

When the cake is done, let it sit on the counter for 15 minutes. With a fork, poke holes all over the cake.

Take the glaze and pour it over the cake. Then refrigerate for 2 hours. (I did mine overnight)

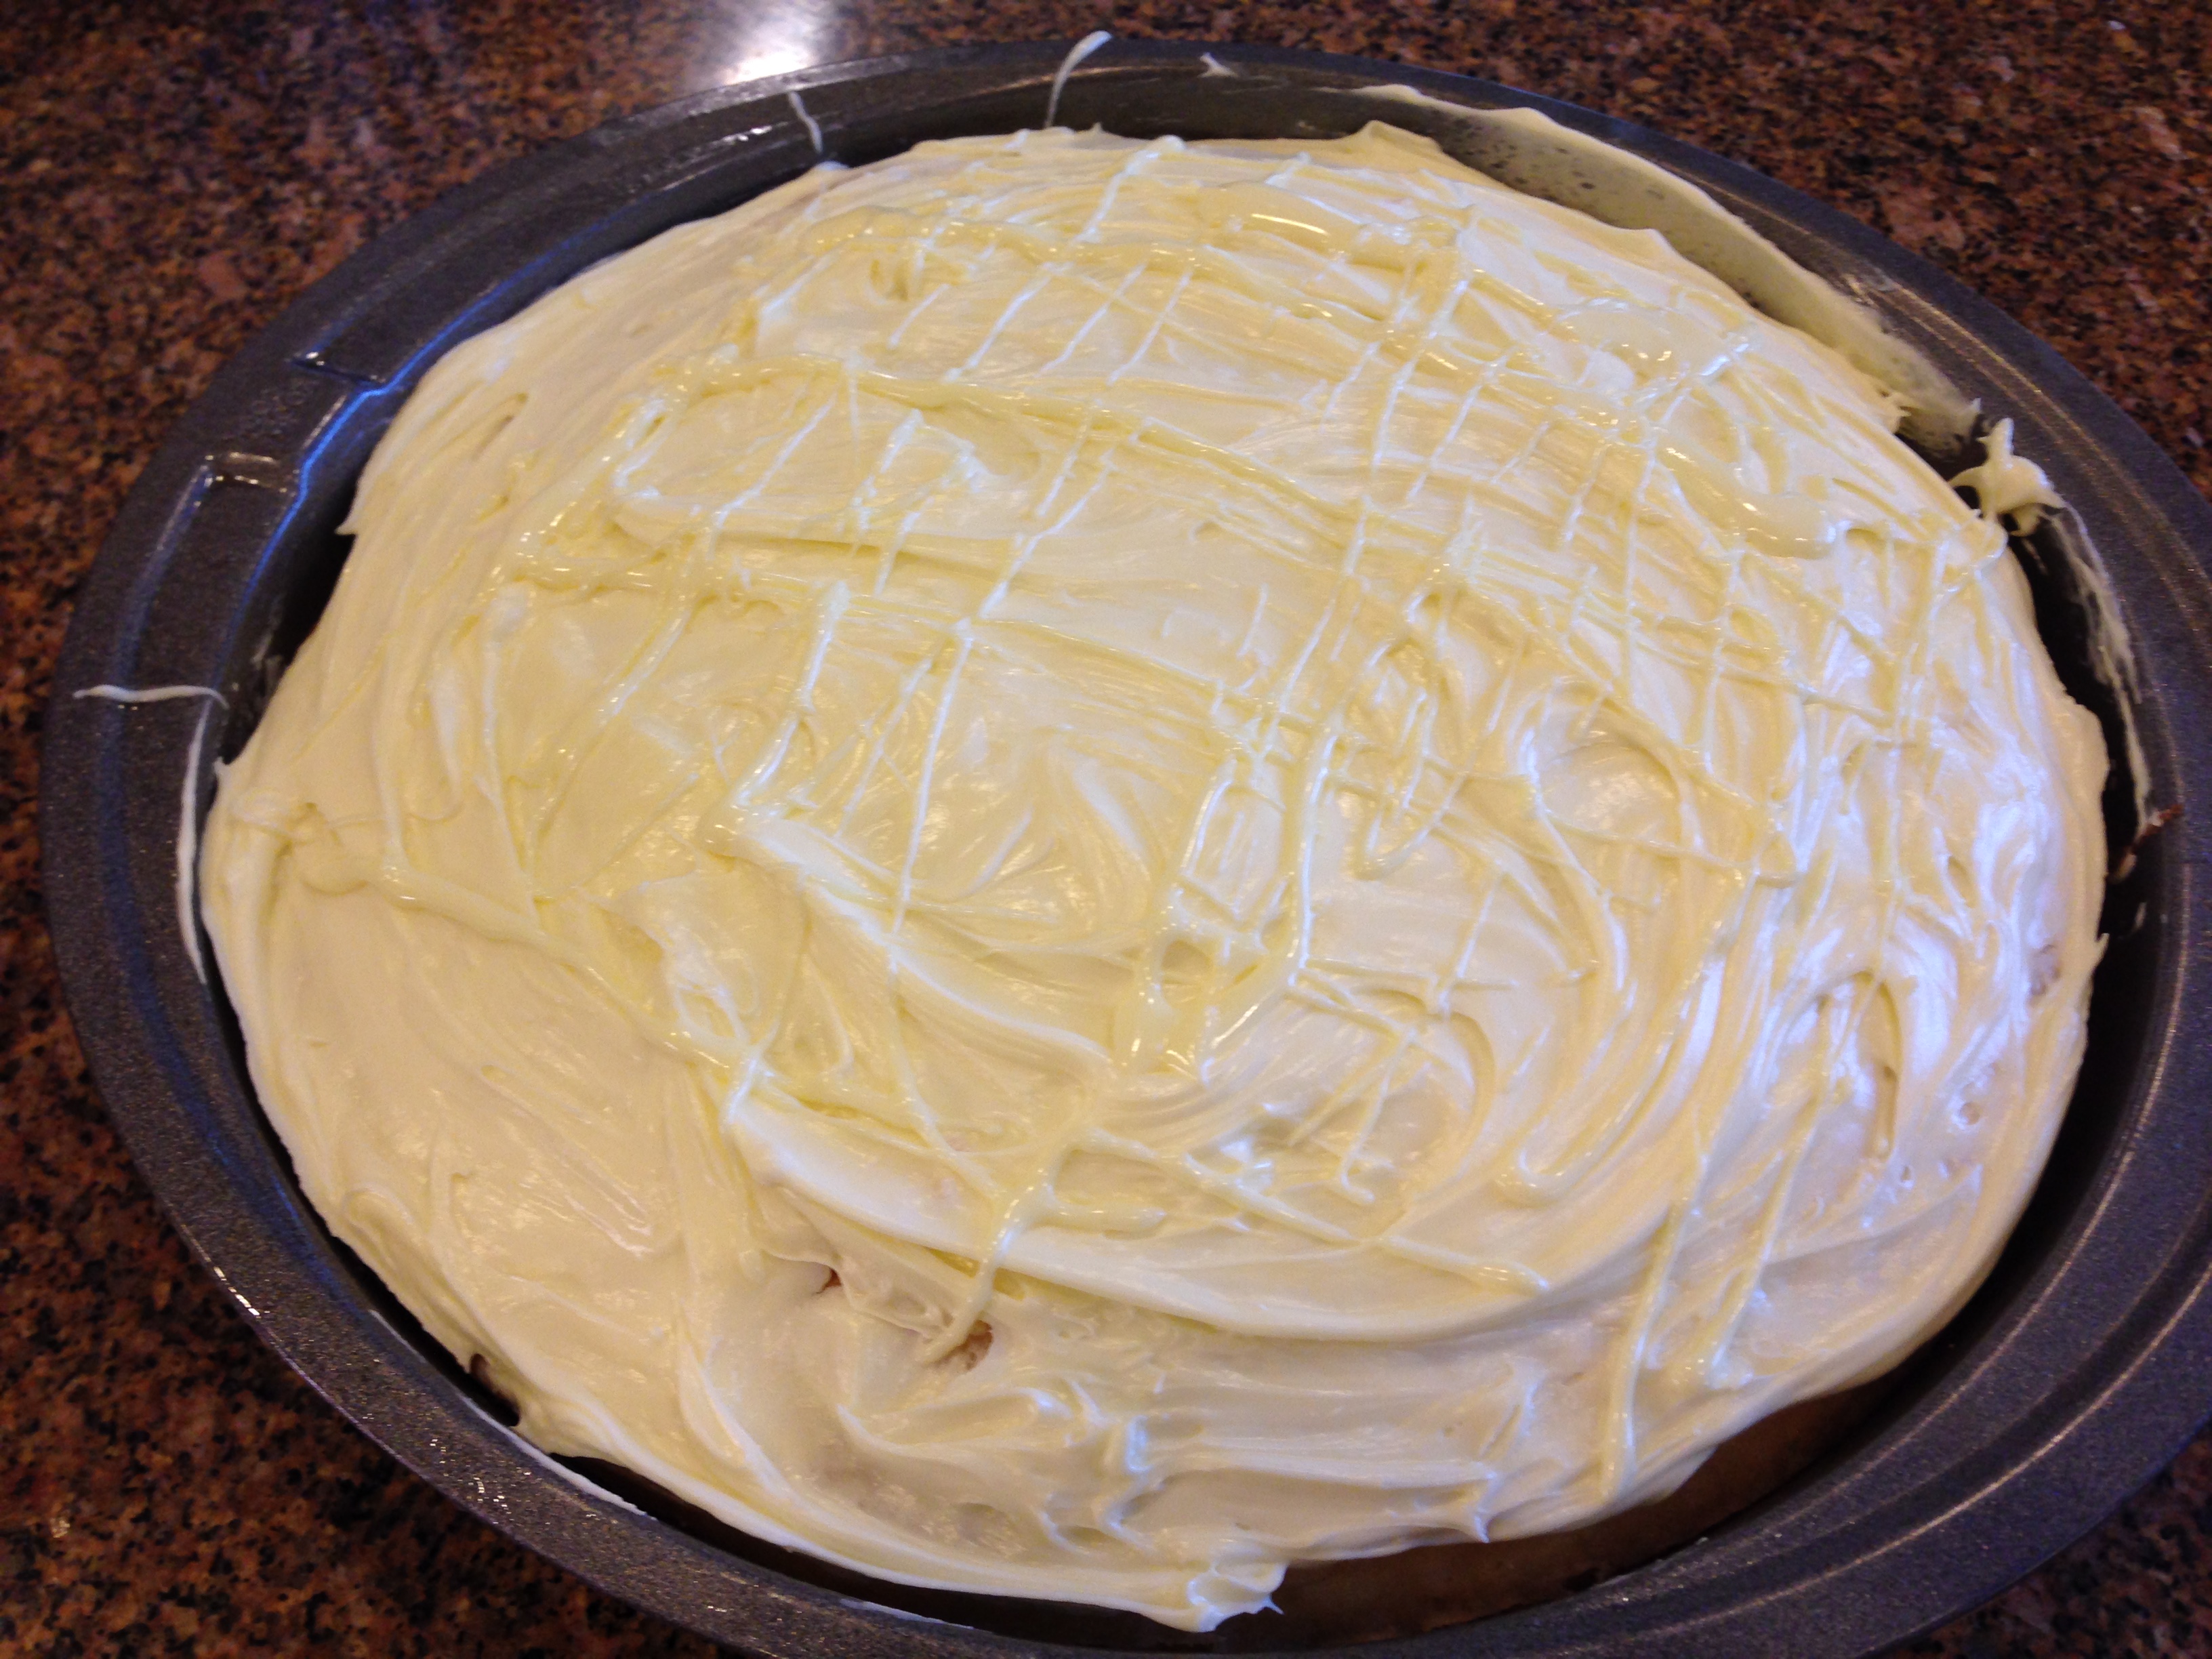
When the time is up, it is now time to make the frosting. To make it easier to frost, pop the whole can, minus the lid and foil, into the microwave for 20 sec. It makes it easier to frost and you can actually swirl it around. (this is a tip from the original author!) If you microwave the rest of what is left for a little longer (10-15 sec) you can “drizzle” it on the cake.IMG_4565

Yummy AND easy.

I am sharing this recipe on Gluten Free Wednesdays.
Ligia

Filed Under: Gluten Free Living, Homemaking

Home Storage Solutions 52 Week Challenge: Week 5 Recipes & Cookbooks

February 13, 2015 By Ligia

Last Week our challenge was to declutter our recipes & cookbooks.

If you have read my blog you know I did a huge recipe overload already. Here is the link to my Family Recipe Book.

Update on my recipe binder

Final project

That was back in April of 2013 and I am happy to report I am still using it! In fact, I use it 2-3 sometimes more times a week.

Something that I have incorporated is the use of pocket tabs. I put recipes I want to try in the pockets of each section so when I want to try something new, I already have a few recipes to choose from. I have found some great new recipes. Since we are now dealing with some dairy issues, I have had to overhaul lots of recipes and collect new ones. I have been using lots of Paleo recipes, to my surprise. I have also removed some that we really didn’t love. So it’s a work in progress, but I love my recipe binder.

My favorite place to get recipes:

Living Without 

The Gluten-Free Homemaker

And of course Pinterest

Ligia

Filed Under: Homemaking

Home Storage Solutions 52 Week Challenge: Week 3 Food Storage Areas

January 30, 2015 By Ligia

This past we tackled the Food Storage Areas: Pantry, Spices, etc

I had ironically just gone through my pantry and tossed out expired food AND food that had MSG and Corn Fructose Syrup and Hydrogenated Oils. That pretty much wiped out my whole pantry! We’ve been trying to eat “clean”. I especially wanted to remove these horrible ingredients from my home. It was sad to let go of some favorite snacks like Cheetos-believe it or not Cheetos have MSG.

ANYWAY, I decided to focus on spices.

All these spices that were expired! A lot of these were spices I buy for a specific recipe. So the ones with the green lids expired in 2005! I have no idea how they made it to our new house (2011). I should have tossed them then.

IMG_4328


Here is my shelf now (pretty bare). I do have to replace some, though, like Parsley Flakes and Allspice.

IMG_4329

I have a card on the door saying what each row contains so I am not searching:

IMG_4330

I have to update my card now since i got rid of so much.

So not too much but, it was nice.

Oh, and I did clear my baking area:

IMG_4311

And put all my cookie cutters in a scrapbook box! Not including Christmas of course.

IMG_4313


Filed Under: Homemaking

  • « Previous Page
  • 1
  • …
  • 14
  • 15
  • 16
  • 17
  • 18
  • …
  • 62
  • Next Page »

About me

Welcome to my blog! I'm a homeschool mom of two kiddos. I'd love to share what I 've learned and continue to learn as a busy mom trying to do it all!

Categories

Archives

Goodreads: Book reviews, recommendations, and discussion
Homeschool Buyers Co-op
Homeschooling's
#1 Way to Save

No content on this website may be used without my permission.