• Celiac Disease
  • Type 1 Diabetes
  • ABC of Couponing
  • Dysgraphia
  • Dyslexia

Journal of a Busy Mom

living one day at a time

  • Mom’s Corner
    • Reading Corner
    • Homemaking
    • Fitness
    • Family Life
    • Faithbuilding
    • Finances
  • Learning Challenges
    • LC Help 101
    • Dyslexia
    • Dysgraphia
    • ADD
  • Homeschooling
    • Schooling Fun
    • Planning & Organization
    • Homeschooling High School
    • Homeschooling & Beyond
    • Homeschooling Curriculum
    • Homeschooling w/Challenges
    • Homeschooling K-8
  • Gluten Free Living
  • SIBO/Low FODMAP
  • Life w/Autoimmune Diseases
    • Thyroid Disease
    • Diabetes
      • Our Story
      • Tips
    • Celiac Disease
      • Our Celiac Story

Christmas Baking: Gluten Free Snowflake Cookies

December 17, 2014 By Ligia

IMG_3172

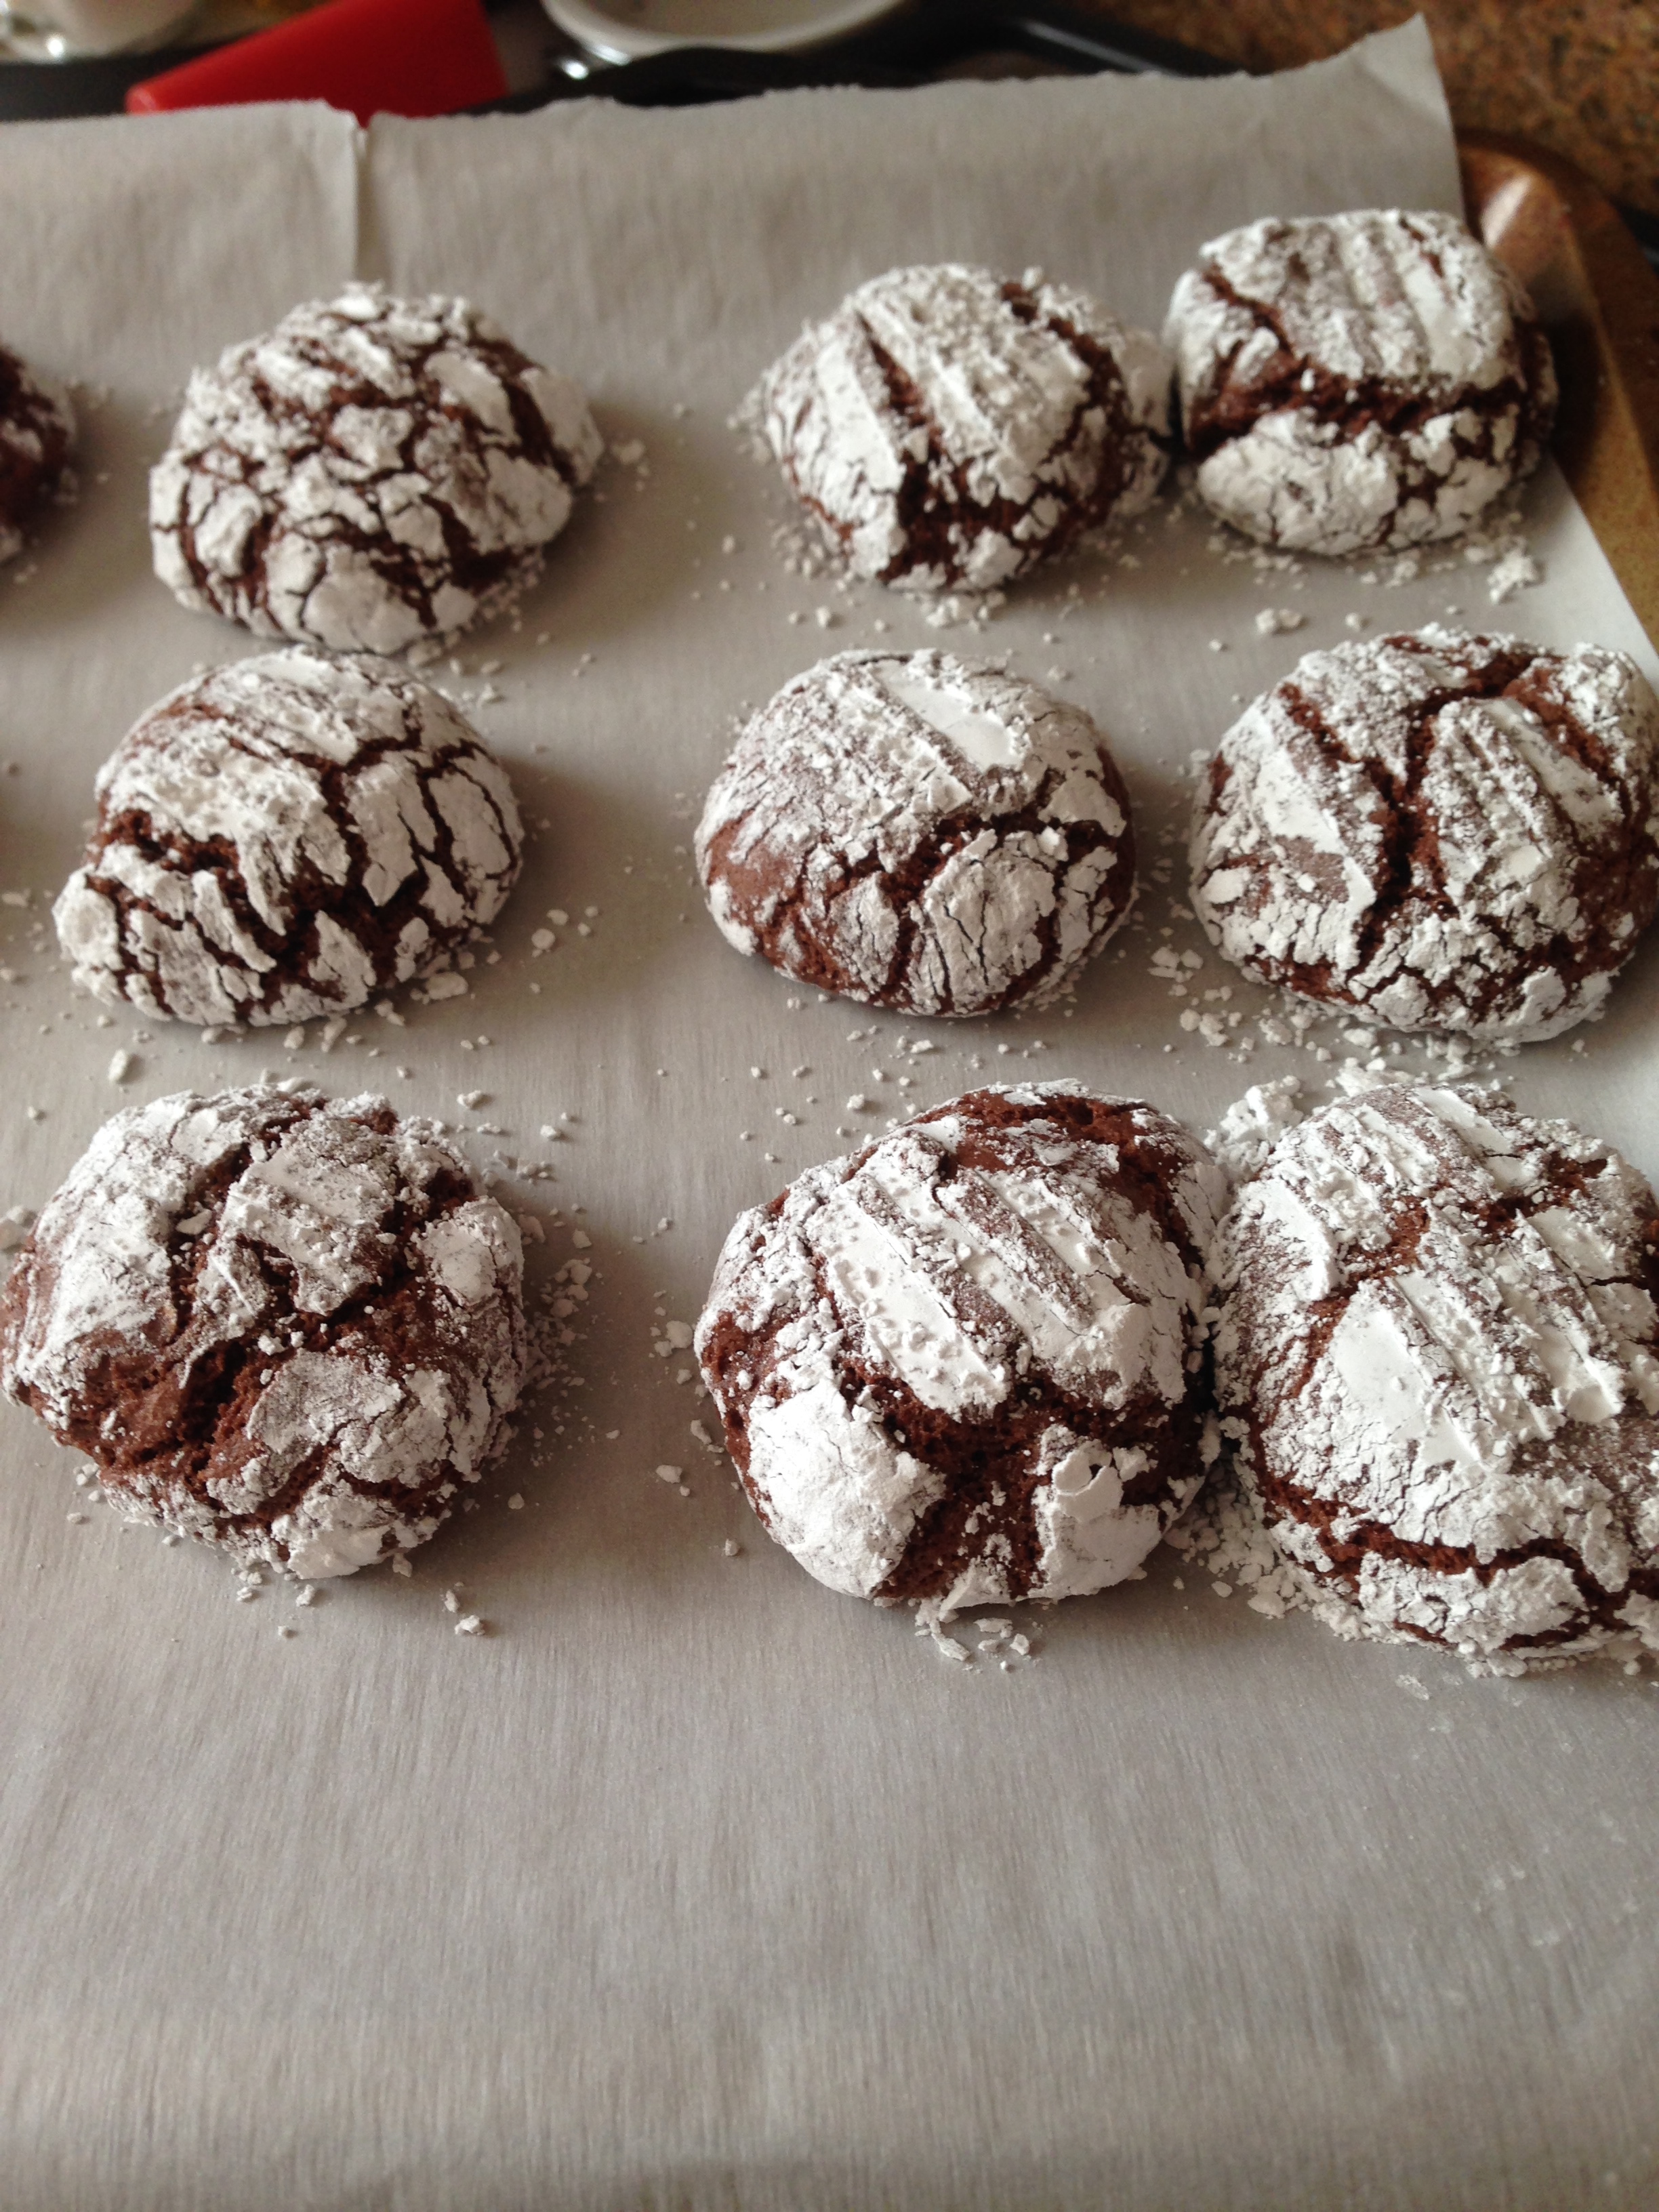
Last year, I hosted a Gluten Free Cookie Exchange and this is one of the cookies we got to try and now love. This cookies are so soft and chewy. My husband likes them because they have no dairy.  We make them often. Here is the recipe:

The original recipe calls for Cup 4 Cup flour, which I guess you can buy at Crate and Barrel. I did not have this flour so I substituted Bob’s Red Mill All Purpose Flour and then added Xanthum Gum. This recipe makes about 2 dozen, which was not enough for my family so I’ve doubled it every time.

Thanks to Celiac in the City for this recipe:

½ c. unsweetened cocoa powder
1 cup white sugar
¼ c. oil of choice
2 eggs
1 t. vanilla extract
1 c. gluten free flour
1 t. baking power
½ t. Xanthum gum
1/8 t. salt
½ c. powdered sugar

1. Mix together cocoa, white sugar, and oil. Beat in eggs one at a time, then mix in vanilla. In a separate bowl, combine flour, baking powder, salt and xanthum gum. Slowly add flour mix into the cocoa mixture. Cover dough and chill for 3-4 hours (overnight works best)
2. Preheat oven to 350 degrees. Line cookie sheets with parchment paper or use Silpat (not sure what that is?) Scoop dough using a cookie scoop or spoon and drop into powdered sugar. This is better than trying to roll them into balls first. After you’ve got them nice and coated, roll into balls and lace on prepared baking sheet, at least 2 inches apart.
3. Bake 10-12 minutes, depending on size.  You’ll know they are done when you press the middle and it doesn’t leave much of a dent. Let set on cookie sheets for a minute or two, then transfer to baking racks to cool.

I am sharing this recipe on Gluten Free Wednesdays.
Ligia

Filed Under: Gluten Free Living, Homemaking

Gluten Free Apple Crisp

December 3, 2014 By Ligia

I made apple crisp for the first time today. It turned out very good. I had a few apples left over from Thanksgiving.  I bought too many so I needed to figure out something quick and easy. I looked on Pinterest and came across this Gluten Free Apple Crisp recipe by Hey That Tastes Good!. I had all the ingredients on hand which is always a plus.

IMG_3922

Here is the recipe:

4 medium sized apples, peeled, cored, and cubed
1/4 c plus 1/3 c sugar, separated
two pinches of salt
1 t cinnamon
1/3 c brown sugar (packed)
1 1/4 c rice flour mix ( just used rice flour)
1/2 t xanthan gum
7 T butter, melted ( I used 8 T or a full 1/2 cup bar)
Preheat oven to 350. Combine the apples, 1/4 c sugar, one pinch of salt, and 1/2 t cinnamon and dump into a pie or tart pan.
IMG_3919
Stir together the remaining sugar, salt and cinnamon, with the brown sugar, rice flour and xanthan gum. Stir in the melted butter, and if it’s still a little too floury, you can add a tablespoon or two of milk.
IMG_3920
Sprinkle the crumble mix over the apples, and bake for 45-50 minutes, until the apples are soft and the topping is crisp.
Serve with ice cream.
I did not serve with ice cream but I will definitely try with ice cream and then with whipping cream, or maybe both at the same time….

I am sharing this recipe on Gluten Free Wednesdays.
Ligia

Filed Under: Gluten Free Living, Homemaking

Selling My Stuff: Books & DVDs

November 15, 2014 By Ligia

I have been using different websites to sell my books, but recently I decided to focus my attention back to paperbackswap.com. I have sold my books on Amazon for a while, I don’t feel I make enough on the books to make it worth my time. Enter paperback swap.

Here is how it works:

I take all  my books: children, adult, etc and list them on the site. It is super easy because all you do is enter the ISBN.

When another member wants the book, I get an email that my book has been requested.

For every book I send to a member, I get credit on the website for books I might be interested in.

Within a week of posting my books, I got rid of three. Now when I come across a book title that I need for homeschooling or personal use, I can go on paperback swap and see if its available.

The postage is paid by the sender. So I load up my account with $10-$15 and use it up as I go. It is set up so you can use Paypal.

Their sister site DVD swap is the exact same. I had several workout DVDs that I did not want to just give away so I listed them here and have shipped off three DVDs already. I have three credits waiting to be used. The nice thing is I got rid of workout DVDs but I can get ANY DVD I want.

So here are the links:

Paperback Swap-books

SwapaDVD-DVDS

Good luck,

Ligia

Filed Under: Homemaking

  • « Previous Page
  • 1
  • …
  • 8
  • 9
  • 10
  • 11
  • 12
  • …
  • 28
  • Next Page »

About me

Welcome to my blog! I'm a homeschool mom of two kiddos. I'd love to share what I 've learned and continue to learn as a busy mom trying to do it all!

Categories

Archives

Goodreads: Book reviews, recommendations, and discussion
Homeschool Buyers Co-op
Homeschooling's
#1 Way to Save

No content on this website may be used without my permission.