• Celiac Disease
  • Type 1 Diabetes
  • ABC of Couponing
  • Dysgraphia
  • Dyslexia

Journal of a Busy Mom

living one day at a time

  • Mom’s Corner
    • Reading Corner
    • Homemaking
    • Fitness
    • Family Life
    • Faithbuilding
    • Finances
  • Learning Challenges
    • LC Help 101
    • Dyslexia
    • Dysgraphia
    • ADD
  • Homeschooling
    • Schooling Fun
    • Planning & Organization
    • Homeschooling High School
    • Homeschooling & Beyond
    • Homeschooling Curriculum
    • Homeschooling w/Challenges
    • Homeschooling K-8
  • Gluten Free Living
  • SIBO/Low FODMAP
  • Life w/Autoimmune Diseases
    • Thyroid Disease
    • Diabetes
      • Our Story
      • Tips
    • Celiac Disease
      • Our Celiac Story

Gluten Free Waffle Casserole

January 21, 2015 By Ligia

This was my third time making this gluten free waffle casserole recipe. I made it for Christmas Day morning and it was wonderful to have something ready to go!

At first, I thought the idea of putting maple syrup on my casserole was crazy, but I actually LOVE it. Some of my family members chose not to do that, but that is fine!

So here is a picture and, of course, the recipe:IMG_4301


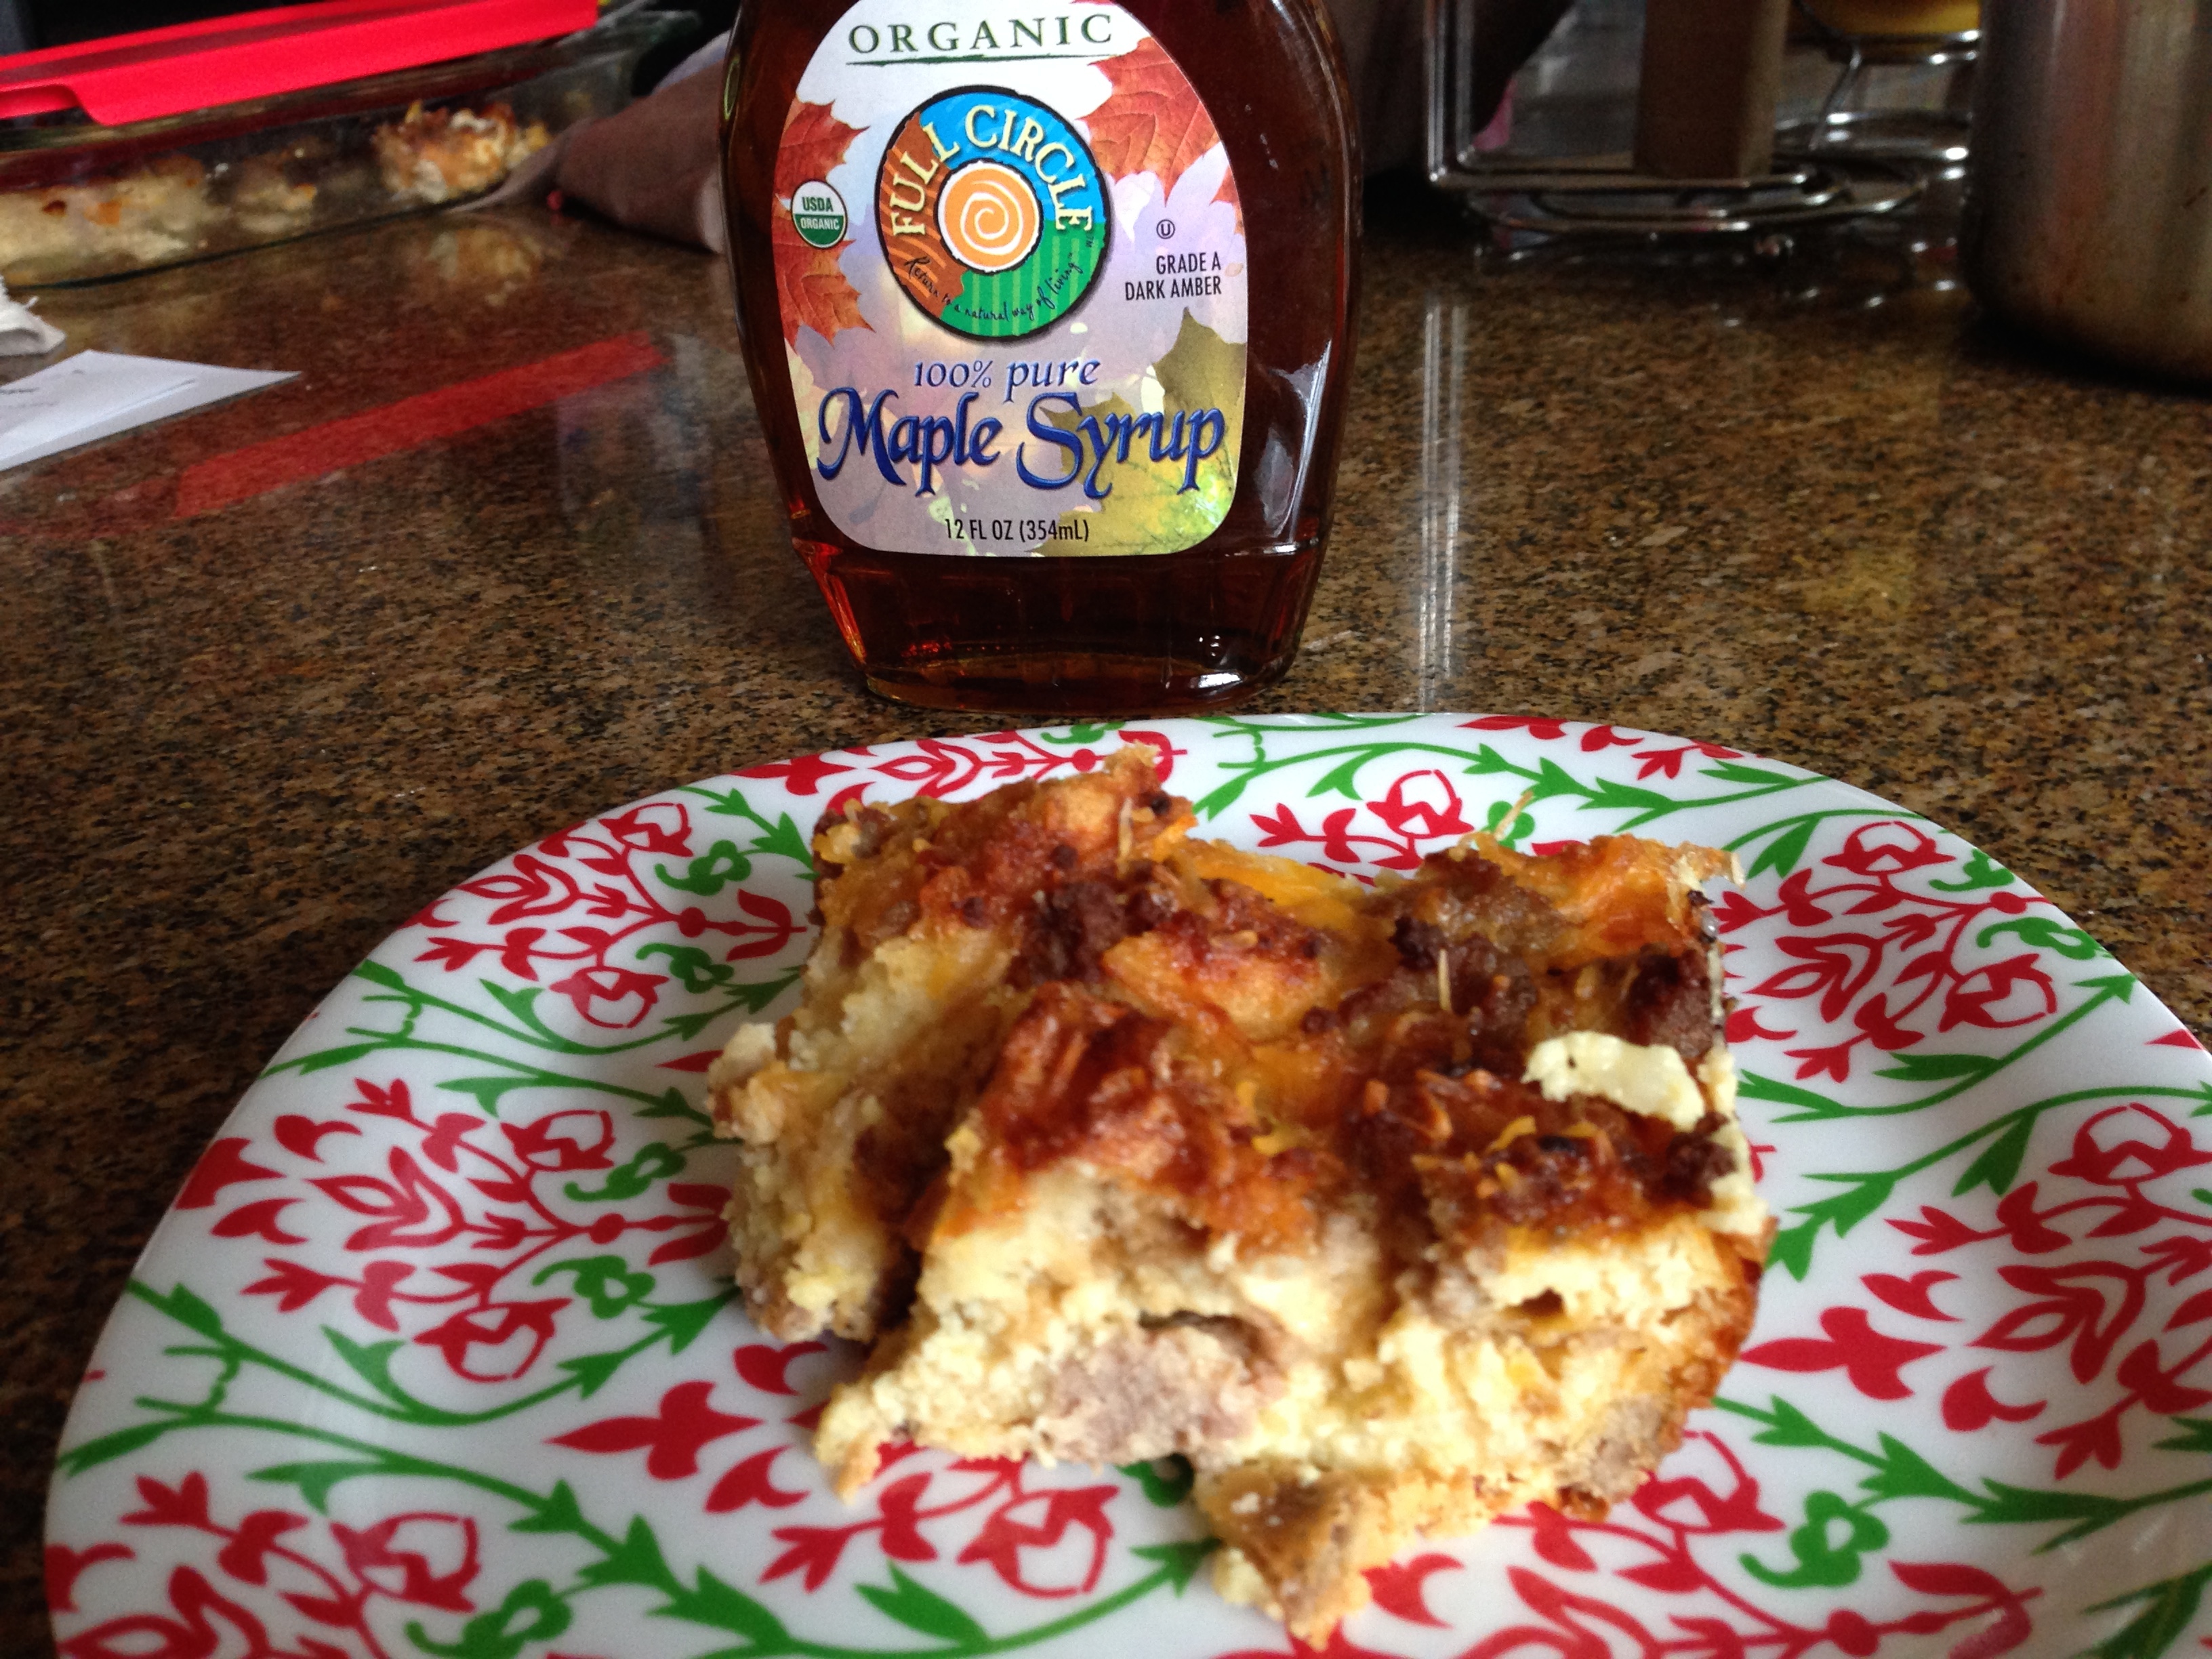
1 pound bulk pork sausage (I use Jennie O turkey sausage)

6 frozen waffles, toasted and cubed ( I use Van’s or Safeway’s gluten free waffles)

1 cup shredded cheddar cheese (4 oz)

6 eggs, lightly beaten

2 cups milk (I have used Lactaid)

1 teaspoon dry mustard

1/8 teaspoon pepper.

1. In a large skillet, cook sausage until brown, using a wooden spoon to break up sausage as it cooks. Drain off fat; set aside.

2. Arrange 1/2 the waffles in a 2 quart rectangular baking dish. Top with half the sausage and about 1/3 cup of the cheese. Repeat layers.

3. In a large bowl, beat together eggs, milk, mustard, and pepper. Pour over layers in dish. Cover and chill in refrigerator for 4 to 24 hours.

4. Preheat oven to 350 degrees. Uncover and bake for 50-60 minute or until a knife inserted near the center comes out clean. Sprinkle with the remaining 1/3 cup cheese. Let it stand for 10 minutes before serving. If desired, drizzle with syrup.

Note: I used 8 waffles the first time I made this because 6 didn’t fill my baking dish. The second time I made this I wanted a bigger casserole so I think I used 10. This time I used two boxes (12) because I am taking it to a church brunch.  I added 2 extra eggs and 1/4 cup milk. I also added a bit more mustard and pepper (just a couple of shakes) and a little extra cheese between the layers.

I am sharing this recipe on Gluten Free Wednesdays.
Ligia


Filed Under: Gluten Free Living

Christmas Baking: Gluten Free Snowflake Cookies

December 17, 2014 By Ligia

IMG_3172

Last year, I hosted a Gluten Free Cookie Exchange and this is one of the cookies we got to try and now love. This cookies are so soft and chewy. My husband likes them because they have no dairy.  We make them often. Here is the recipe:

The original recipe calls for Cup 4 Cup flour, which I guess you can buy at Crate and Barrel. I did not have this flour so I substituted Bob’s Red Mill All Purpose Flour and then added Xanthum Gum. This recipe makes about 2 dozen, which was not enough for my family so I’ve doubled it every time.

Thanks to Celiac in the City for this recipe:

½ c. unsweetened cocoa powder
1 cup white sugar
¼ c. oil of choice
2 eggs
1 t. vanilla extract
1 c. gluten free flour
1 t. baking power
½ t. Xanthum gum
1/8 t. salt
½ c. powdered sugar

1. Mix together cocoa, white sugar, and oil. Beat in eggs one at a time, then mix in vanilla. In a separate bowl, combine flour, baking powder, salt and xanthum gum. Slowly add flour mix into the cocoa mixture. Cover dough and chill for 3-4 hours (overnight works best)
2. Preheat oven to 350 degrees. Line cookie sheets with parchment paper or use Silpat (not sure what that is?) Scoop dough using a cookie scoop or spoon and drop into powdered sugar. This is better than trying to roll them into balls first. After you’ve got them nice and coated, roll into balls and lace on prepared baking sheet, at least 2 inches apart.
3. Bake 10-12 minutes, depending on size.  You’ll know they are done when you press the middle and it doesn’t leave much of a dent. Let set on cookie sheets for a minute or two, then transfer to baking racks to cool.

I am sharing this recipe on Gluten Free Wednesdays.
Ligia

Filed Under: Gluten Free Living, Homemaking

Gluten Free Apple Crisp

December 3, 2014 By Ligia

I made apple crisp for the first time today. It turned out very good. I had a few apples left over from Thanksgiving.  I bought too many so I needed to figure out something quick and easy. I looked on Pinterest and came across this Gluten Free Apple Crisp recipe by Hey That Tastes Good!. I had all the ingredients on hand which is always a plus.

IMG_3922

Here is the recipe:

4 medium sized apples, peeled, cored, and cubed
1/4 c plus 1/3 c sugar, separated
two pinches of salt
1 t cinnamon
1/3 c brown sugar (packed)
1 1/4 c rice flour mix ( just used rice flour)
1/2 t xanthan gum
7 T butter, melted ( I used 8 T or a full 1/2 cup bar)
Preheat oven to 350. Combine the apples, 1/4 c sugar, one pinch of salt, and 1/2 t cinnamon and dump into a pie or tart pan.
IMG_3919
Stir together the remaining sugar, salt and cinnamon, with the brown sugar, rice flour and xanthan gum. Stir in the melted butter, and if it’s still a little too floury, you can add a tablespoon or two of milk.
IMG_3920
Sprinkle the crumble mix over the apples, and bake for 45-50 minutes, until the apples are soft and the topping is crisp.
Serve with ice cream.
I did not serve with ice cream but I will definitely try with ice cream and then with whipping cream, or maybe both at the same time….

I am sharing this recipe on Gluten Free Wednesdays.
Ligia

Filed Under: Gluten Free Living, Homemaking

  • « Previous Page
  • 1
  • 2
  • 3
  • 4
  • 5
  • 6
  • …
  • 20
  • Next Page »

About me

Welcome to my blog! I'm a homeschool mom of two kiddos. I'd love to share what I 've learned and continue to learn as a busy mom trying to do it all!

Categories

Archives

Goodreads: Book reviews, recommendations, and discussion
Homeschool Buyers Co-op
Homeschooling's
#1 Way to Save

No content on this website may be used without my permission.